Archive for June, 2012
Folder Actions Tutorial: Automation, Meet the Filesystem
What are Folder Actions?
Everyone’s workflow includes repetitive tasks that are performed in response to files being added to or removed from folders: perhaps you start a Time Machine backup when you save an important file, always open Transmission when a .torrent file is downloaded, regularly check shared folders for new files, repeatedly upload resources to a remote server, or simply add a line to a log file whenever you add or delete files. Wouldn’t it be convenient if these tasks were automatically taken care of for you?
Folder Actions, one of OS X’s powerful automation and scripting features, can tell the system to monitor a folder and automatically execute an Automator workflow, AppleScript, or shell script when items are added to or removed from the folder. The ability to automatically do virtually anything as files are added to or removed from folders can be a huge time saver in any workflow.
As an introduction to Folder Actions (and, if you’re not already familiar with it, Automator), we’ll create a simple action that automatically prompts us to give our screenshots descriptive names as we take them.
Mobee Desktop Hardware, Part 1: The Magic Bar
Back in March I visited the San Francisco Apple Store located on One Stockton Street. It was the first time in a while I’d been to an Apple Store for no specific purpose, allowing me the leisure of simply browsing as well as taking in the wonderful setup they had for their Training Workshops and store layout in general. Upstairs, in their third party accessory section, my eye locked onto peripherals I had not previously heard of, I saw two of them with their own Apple-like, but notably distinct brand. These products were mobee’s Magic Bar, Magic Charger, and Magic Numpad. These three products being accessory pieces for the Apple Wireless Keyboard, Magic Mouse, and Magic Trackpad, respectively.
I immediately locked onto the Magic Bar and Magic Charger for one reason: Wireless peripherals are great and all, but fighting with batteries is a complete and utter pain. The best part of the iPhone is the very capable battery, and only needing to plug it into a computer or a wall outlet for a period of time in order charge it up. When it’s done? Disconnect the cable, and you’re free to roam around. No tearing off the flimsy black cover and replacing a battery, slotting it into a dock or otherwise, plug it in when you need juice, unplug and walk away when you’re done. This is pretty much the only sensible way to work with wireless devices nowadays. My Nintendo Wii-motes have third party battery packs from Niko, and a charging stand that I can simply set the ‘motes on when I’m done playing. 360 controllers? Microsoft’s Play & Charge Kit. The PS3’s Six-axis controllers? Well, those don’t even have user-serviceable battery compartments to begin with, simply a micro-USB connection suitable for plugging into the PS3 directly, or a charging station as well.
And what if you don’t use L-Ion replacements? There’s always rechargeable batteries, of course! Apple seems to agree, given their Battery Charger which appeared along side the debut of the Magic Trackpad. However, rechargeable batteries, in my own purely anecdotal experience, have a much shorter lifespan before beginning to suffer from severely diminished capacity. It’s either that, or I can’t keep charged/un-charged batteries apart (which really, is COMPLETELY possible). Using standard batteries is easier, use ’em and toss ’em, but it does feel like quite a waste, and against the ethos of Apple’s environmental standards.
Enter Mobee, and their line of battery replacement accessories. Today, The Magic Bar.
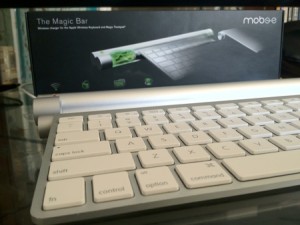
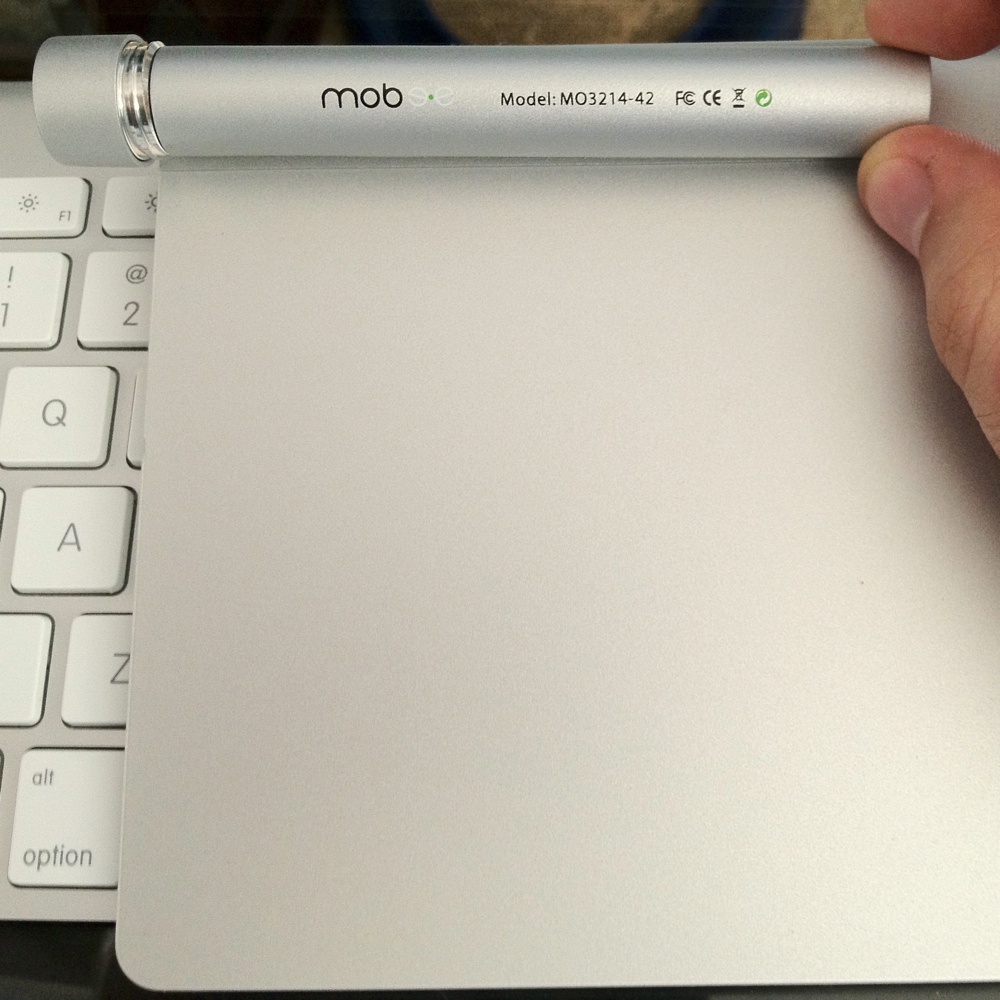
The Magic Bar is a battery pack and inductive charger set for Apple Wireless Keyboards and Magic Trackpads. I had initially assumed due to width of the box it would only be for the keyboard, but no! Opening The Magic Bar’s box reveals three components, a charging base, a battery pack, and a micro-USB cable. Or is it mini-USB? For the life of me I’ll never remember. Installation is incredibly simple.
- Unscrew the battery compartment from the keyboard
- Replace the batteries with the battery pack
- Since it is presumably your first time, plug in the charging base and slide the keyboard into it.
- Done! There was a step 3, I guess the iMac is still easier.
Set the battery compartment screw in a safe place, it’s a bit small and probably makes for a nasty choking hazard. Throw it in the Magic Bar box! If you ever switch back, you can simply swap components. Since the Magic Bar components are inductive charging, there is no snapping in, screwing, or other obnoxious process for fitting the two pieces together, this is also why the battery pack protrudes out of the keyboard.
While charging, the base station’s status light blinks a warm green until it’s finished. The inside of the Magic Bar box has a short guide that explains the simple order of information the light conveys:
- Blinking green, charging.
- Solid green, charged.
- Solid red, waiting for a device to be inserted.
- Blinking red, failure.
Once the device is done charging, I can simply cast the charging base aside, and move the keyboard wherever it’s most comfortable.
As previously mentioned, none of this is specific to the keyboard, if you’d rather use it with a Magic Trackpad as well, the process is the same. This is actually the absolute best feature of The Magic Bar. After buying The Magic Bar once and having the charging base, simply buy a “replacement” battery pack. One for the wireless keyboard, one for the Magic Trackpad. After installing each battery pack, simply slide the device that needs to be recharged into the base. Simple, right? (The answer is yes.)
One minor note: The Magic Bar only works with 2x-AA battery Wireless Keyboards. Among the wireless keyboards in my household, I do have an older model that took three batteries. Since the battery pack is not wide enough, it fails to make a connection and will not work with those keyboards. Check the underside of your Wireless Keyboard and ensure there are only two battery icons near the battery replacement bay.
My single minor gripe with the device; When placed in the charging base, the device does have a small amount of wiggle to it. When moving my hand back to the trackpad I have occasionally slid it out of the charger on accident, or just kind of wiggled back and forth when going to definitively click in the trackpad button. This comes with the territory of being a loose fit, easy enough enough to slide in and not forcing you to slide, snap, latch, or otherwise firmly connect the device in order to charge it. It’s a tradeoff I’m perfectly fine with, as it’s not a constant problem.
I can’t express enough how simple this has made things for me in the few days I’ve had it. I love convenient devices, and mobee has not disappointed me. In my eyes they are in the same league as Twelve South, being able to eloquently solve problems by manufacturing simple, and aesthetically pleasing devices. Perhaps the best part is that these devices are also incredibly cost-effective. $40 in the Apple Store or online direct from Mobee, $30 for the replacement battery packs. Note also this means they’re selling the charging base rather cheap. A mere $10 premium once.
Next: The Magic Charger.
Podcast #27: CSS Workflow and Tools
This is the twenty-seventh episode of the Ask Different Podcast. Your hosts this week are Kyle Cronin, Jason Salaz, Nathan Greenstein.
- We’re back already from our summer hiatus! Our topic this week is CSS development on the Mac.
- The software one spends the most time in when working with CSS is, of course, a text editor. Nathan is a fan of Chocolat, which is lightweight but full featured. Kyle likes TextMate for its powerful CSS bundle features. Jason loves Vim for its many powerful shortcuts and built-in editing tools.
- The next step up from a plain text editor is a dedicated IDE for web development, which usually includes previewing and deployment tools. We’re all big fans of Coda 2; its recent update has brought its capabilities beyond those of Espresso. The Hints and Navigator panels are especially helpful for working with CSS.
- We also discuss Diet Coda, a pared-down version of Coda made for iPad. The app’s editing and terminal features are attractive, but being limited to working with files directly on a server reduces the app’s value.
- Beyond a good editor, there are a few tools that can streamline the writing process even farther. Nathan has set up TextExpander to automatically expand abbreviations of properties that are hard to type. If a design is started in Photoshop, the CSS Hat plugin can also save time by automatically generating CSS rules to match the styling of an object.
- After writing CSS comes testing it. A tool called LiveReload streamlines this process considerably by automatically injecting new CSS into a webpage as you save, which is especially helpful when tweaking the design of a stateful web app. CodeKit is a similar tool with some compelling features, but its reloading capabilities are less robust.
- The WebKit developer tools are hugely helpful when tweaking CSS, allowing one to quickly change and test values, and when debugging, showing the cascade so one can diagnose specificity issues. Additionally, the Firefox developer tools have been greatly improved recently and are becoming comparable to the WebKit tools, even boasting a few unique capabilities.
- Returning to the process of writing CSS, we discuss two preprocessors, SASS and LESS. These languages are supersets of CSS that add helpful features like variables and nesting. LiveReload and CodeKit can automatically compile code written in these languages into standard CSS.
- After testing comes deployment, starting with minification. Smaller is a great tool that allows one to easily combine and minify all the code in a deployment folder. An IDE’s tools can be used to upload files to a deployment server, as well as dedicated apps like Transmit.
- Finally, we share one final tool that can be helpful when either working on a team or reading existing CSS. ProCSSor can prettify and un-minify CSS documents, ensuring that they adhere to the formatting rules you select.
This episode was recorded on June 9th, 2012. You can subscribe to this podcast via RSS or iTunes. We would appreciate it if you could take a second to give us a rating on iTunes. We’d love to hear from you! Please feel free to leave a comment on this post or e-mail us at podcast@askdifferent.net. Thanks for listening.